CI/CD의 전통적인 강자 Jenkins가 있지만, Cloud Native 환경에 어느 정도 최적화가 된 Tekton을 활용하여 CI 환경을 구성해보자. 적응하면 Jenkins 대비 관리 포인트도 줄고, 가벼워서 자원 효율화 측면에서도 좋을 것으로 예상한다.
Tekton 설치하기
[참고] https://tekton.dev/docs/getting-started/tasks/
Getting started with Tasks
Set up and run your first Tekton Task
tekton.dev
Kubernetes 환경에서 오픈소스 설치는 언제나 쉽다. 최적화가 문제일 뿐.
➜  tekton k apply --filename \
https://storage.googleapis.com/tekton-releases/pipeline/latest/release.yaml
namespace/tekton-pipelines created
clusterrole.rbac.authorization.k8s.io/tekton-pipelines-controller-cluster-access created
..생략..
service/tekton-pipelines-webhook created
설치 확인
설치하면 아래와 같이 pod가 기본적으로 생성된다. tekton-pipelines-remote-resolvers pod가 별도 namespace에 설치되는데, memory limit이 상당히 크다. 모니터링하면서 추후 조절을 해야할 것 같다.
➜  tekton k get pods --namespace tekton-pipelines --watch
NAME                                         READY   STATUS    RESTARTS   AGE
tekton-events-controller-7489fc7bb4-mb46v    1/1     Running   0          2m16s
tekton-pipelines-controller-6f594c7c-28pdr   1/1     Running   0          2m16s
tekton-pipelines-webhook-559bb45678-qj2zp    1/1     Running   0          2m16s
점검하기
'hello'라는 간단한 Task를 생성하고 수행하면 아래와 같은 결과를 얻을 수 있다.
[참고] https://tekton.dev/docs/getting-started/tasks/
➜  tekton vi hello-world.yaml
➜  tekton k apply -f ./hello-world.yaml
task.tekton.dev/hello created
➜  tekton vi hello-world-run.yaml
➜  tekton k apply -f ./hello-world-run.yaml
taskrun.tekton.dev/hello-task-run created
➜  tekton k get taskrun hello-task-run
NAME             SUCCEEDED   REASON      STARTTIME   COMPLETIONTIME
hello-task-run   True        Succeeded   34s         2s
➜  tekton k logs --selector=tekton.dev/taskRun=hello-task-run
Defaulted container "step-echo" out of: step-echo, prepare (init), place-scripts (init)
Hello World
'goodbye'라는 Task를 추가 생성하고 Pipeline을 구성하면 아래와 같다.
[참고] https://tekton.dev/docs/getting-started/pipelines/
Getting Started with Pipelines
Create and run your first Tekton Pipeline
tekton.dev
➜  tekton vi goodbye-world.yaml
➜  tekton k apply -f ./goodbye-world.yaml
task.tekton.dev/goodbye created
➜  tekton vi goodbye-world-pipeline.yaml
➜  tekton k apply -f ./goodbye-world-pipeline.yaml
pipeline.tekton.dev/hello-goodbye created
➜  tekton vi goodbye-world-pipeline-run.yaml
➜  tekton k apply -f ./goodbye-world-pipeline-run.yaml
pipelinerun.tekton.dev/hello-goodbye-run created
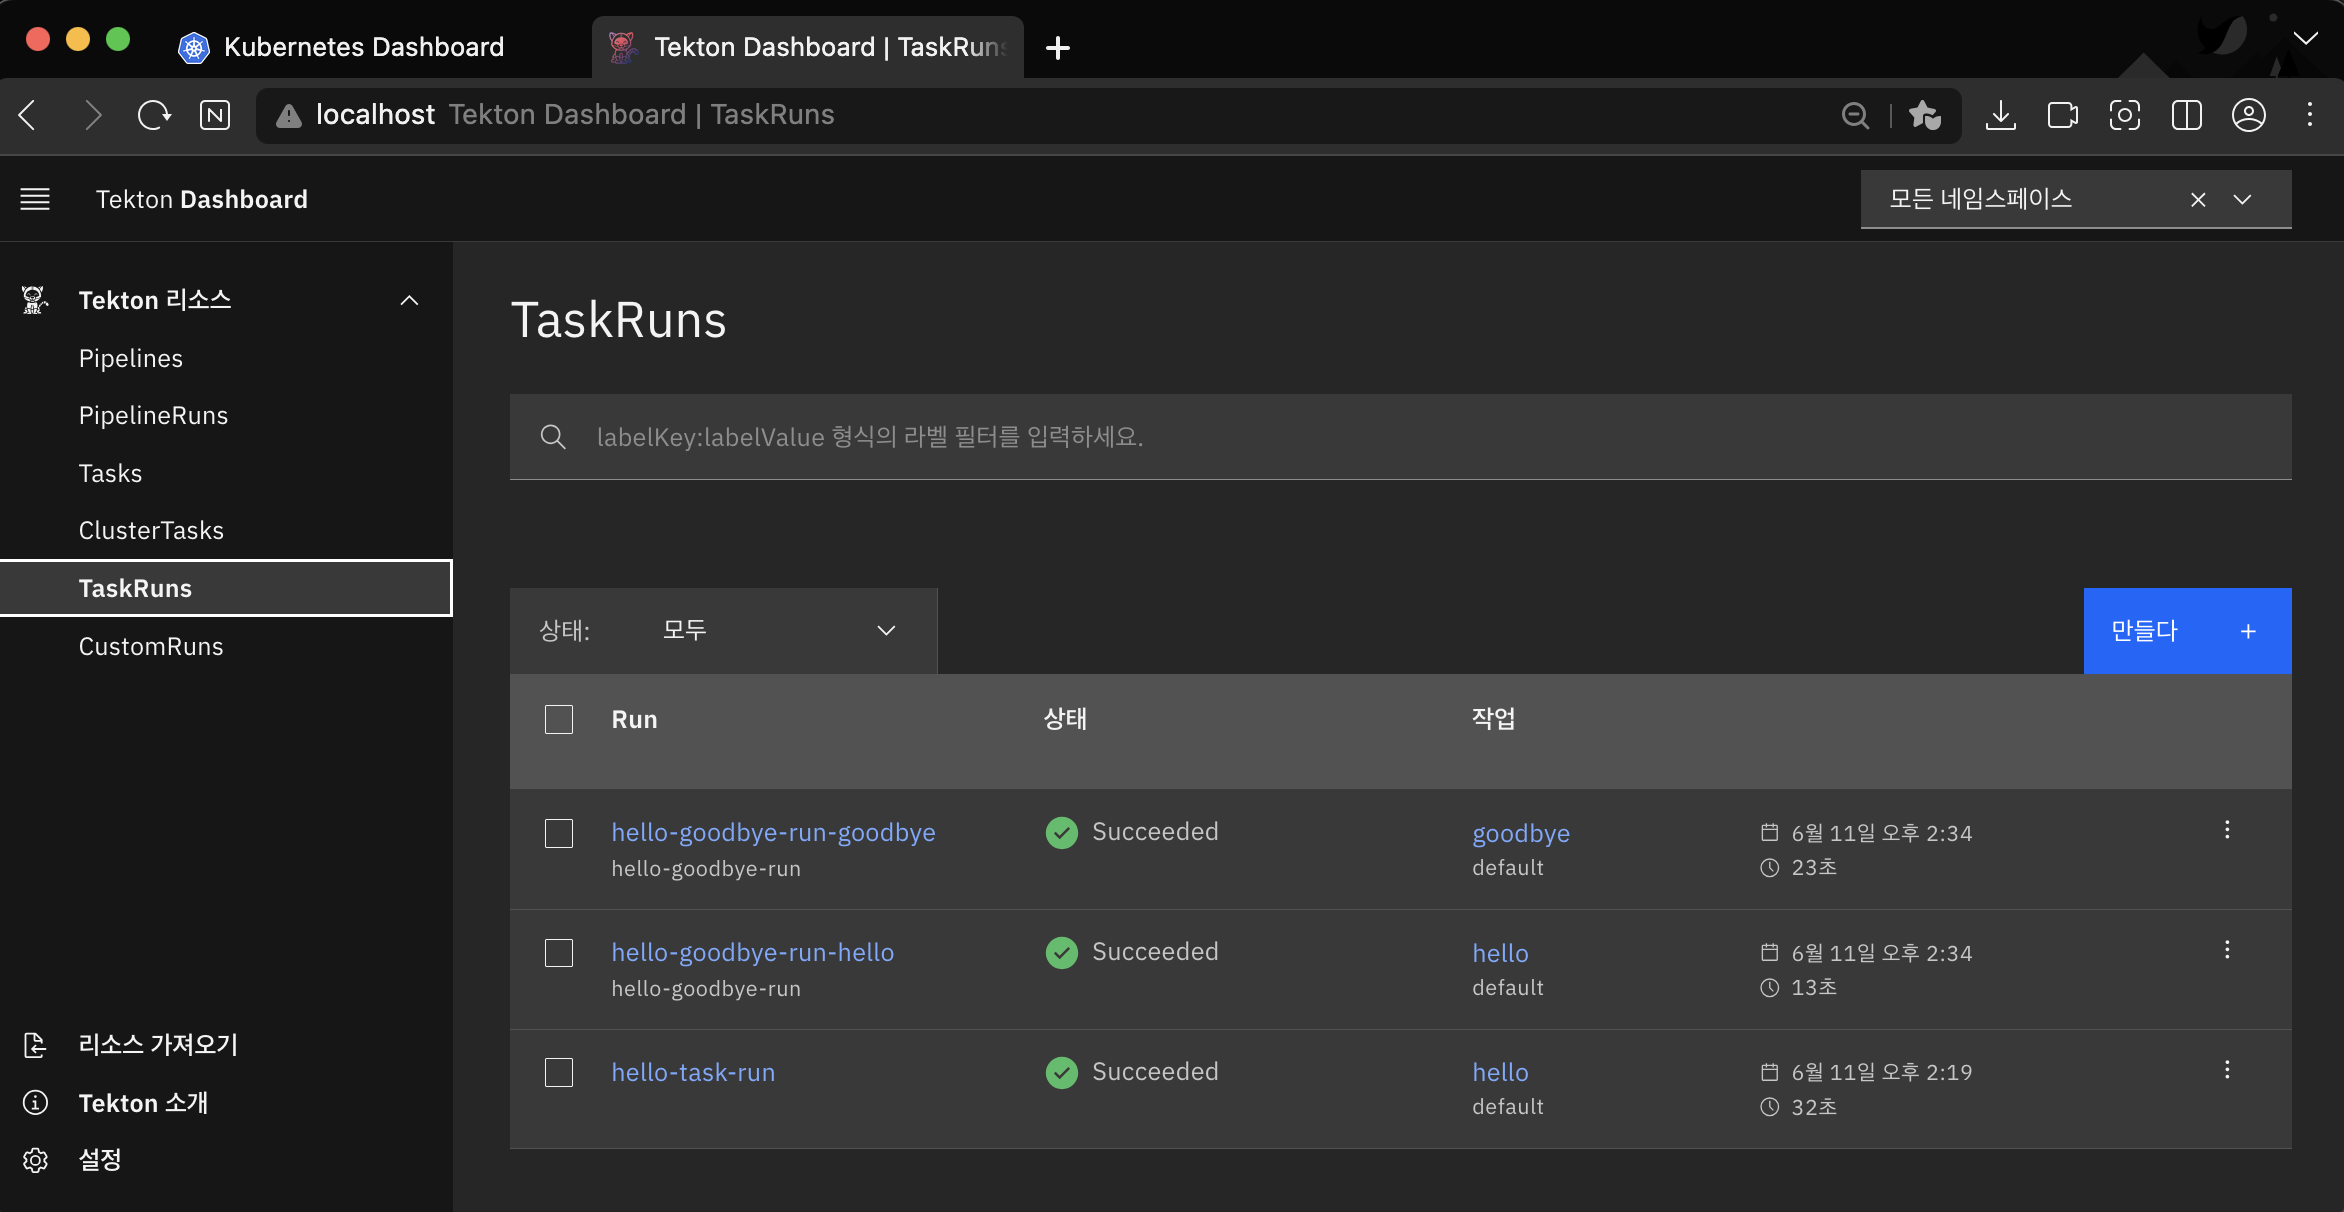
Dashboard 구성하기
아무래도 모니터링할 때는 GUI가 편한 듯 싶다. 간단하게 yaml 파일을 적용하여 설치 진행 가능하다.
[참고] https://tekton.dev/docs/dashboard/install/#installing-tekton-dashboard-on-kubernetes
➜  tekton k apply --filename https://storage.googleapis.com/tekton-releases/dashboard/latest/release.yaml
customresourcedefinition.apiextensions.k8s.io/extensions.dashboard.tekton.dev created
serviceaccount/tekton-dashboard created
role.rbac.authorization.k8s.io/tekton-dashboard-info created
clusterrole.rbac.authorization.k8s.io/tekton-dashboard-backend created
clusterrole.rbac.authorization.k8s.io/tekton-dashboard-tenant created
rolebinding.rbac.authorization.k8s.io/tekton-dashboard-info created
clusterrolebinding.rbac.authorization.k8s.io/tekton-dashboard-backend created
configmap/dashboard-info created
service/tekton-dashboard created
deployment.apps/tekton-dashboard created
clusterrolebinding.rbac.authorization.k8s.io/tekton-dashboard-tenant created
read-only 모드 해제
보통 Dashboard의 읽기전용 모드를 해제하려면 configMap을 수정하라고 하는데, 실제 해당 version에서는 아래 Deployment의 args 'read-only' 값을 'true'에서 'false'로 변경해야했다.
apiVersion: apps/v1
kind: Deployment
..생략..
  name: tekton-dashboard
  namespace: tekton-pipelines
..생략..
	spec:
      containers:
      - args:
        - --port=9097
        - --logout-url=
        - --pipelines-namespace=tekton-pipelines
        - --triggers-namespace=tekton-pipelines
        - --read-only=false
결론
기본적인 구성은 심플하다. Springboot 프로젝트를 하나 Tekton 활용하여 Docker image 빌드까지 하는 Pipeline을 구성해봐야 조금 더 Tekton에 대한 이해가 될 듯 하다.
'Engineering > DevOps' 카테고리의 다른 글
| [형상관리] Gitea repository 생성 (0) | 2025.01.07 |
|---|---|
| [minikube] 형상관리(Gitea) 설치 (0) | 2025.01.03 |
| Gradle 적용 및 Maven과 비교 (0) | 2024.04.25 |
| Grafana 설치 (kubernetes/aws) (0) | 2024.03.21 |
| Prometheus 설치 (kubernetes/aws) (0) | 2024.03.20 |